使用 Testcontainers 对 Keycloak 进行集成测试
1、简介
通常我们会通过集成测试来验证应用功能是否正常。集成测试至关重要,特别是对于认证这种敏感且重要的功能。Testcontainers 允许在测试阶段启动 Docker 容器,以便对实际的技术栈运行测试。
本文将带你了解如何使用 Testcontainers 针对实际的 Keycloak 实例设置集成测试。
2、配置 Spring Security 和 Keycloak
我们需要配置 Spring Security、Keycloak 和 Testcontainers。
2.1、整合 Spring Boot 和 Spring Security
在 pom.xml 中添加 spring-boot-starter-security 依赖。
<dependency>
    <groupId>org.springframework.boot</groupId>
    <artifactId>spring-boot-starter-security</artifactId>
</dependency>
接着,创建一个示例 Controller,它返回一个 User。
@RestController
@RequestMapping("/users")
public class UserController {

    @GetMapping("me")
    public UserDto getMe() {
        return new UserDto(1L, "janedoe", "Doe", "Jane", "jane.doe@baeldung.com");
    }
}
至此,我们有了一个受保护的 Controller,用于处理对 /users/me 端点的请求。启动应用时,Spring Security 会为用户 user 生成一个密码,该密码在控制台输出的日志中。
2.配置 Keycloak
启动本地 Keycloak 的最简单方法是使用 Docker。
运行一个配置了管理员(admin)账户的 Keycloak 容器:
docker run -p 8081:8080 -e KEYCLOAK_ADMIN=admin -e KEYCLOAK_ADMIN_PASSWORD=admin quay.io/keycloak/keycloak:17.0.1 start-dev
打开浏览器,访问 http://localhost:8081,进入 Keycloak 控制台:

接下来,创建 baeldung Realm。

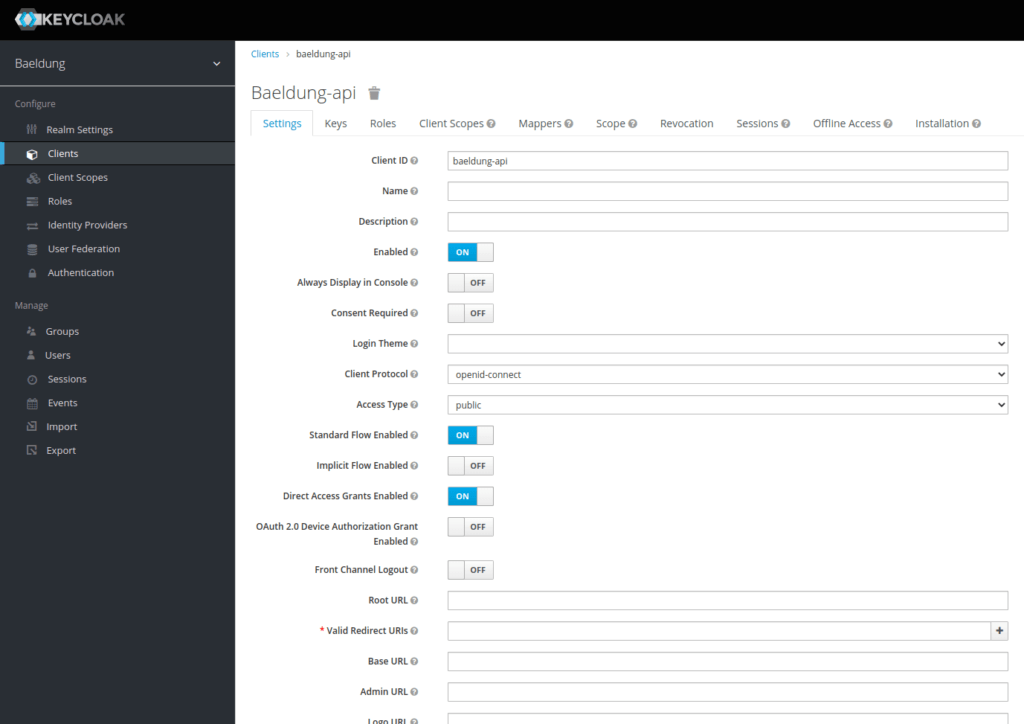
添加一个客户端,命名为 baeldung-api。
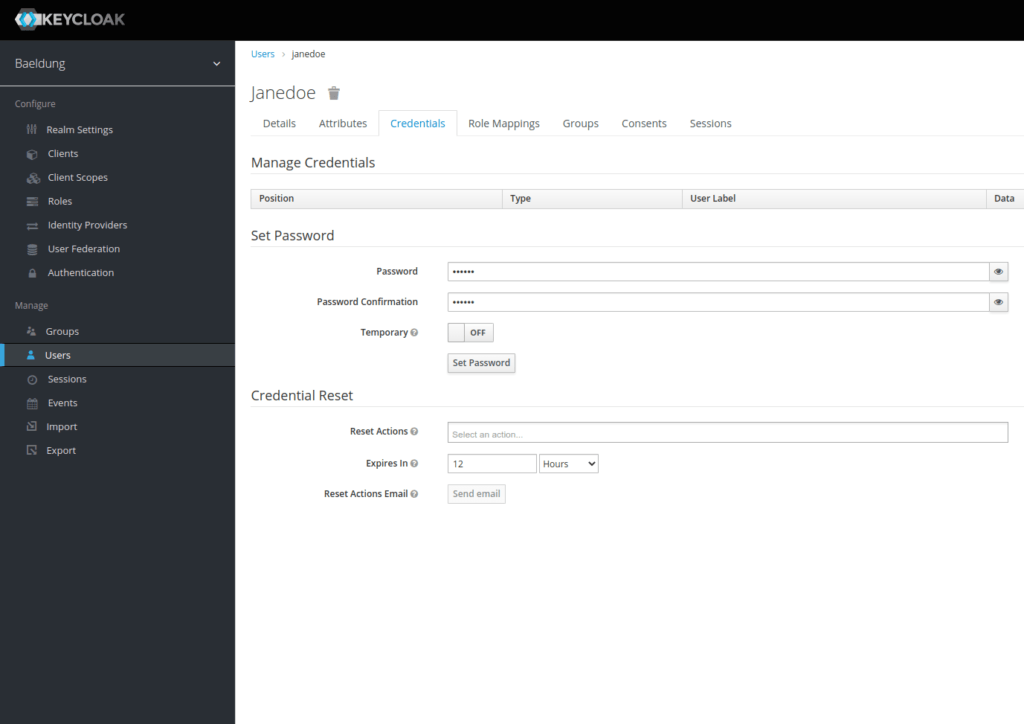
最后,通过 “Users” 菜单添加一个用户 Janedoe:

创建用户后,为其分配一个密码:s3cr3t,关闭 “temporary”(临时的) 选项:
现在我们已经设置了包含 baeldung-api 客户端和 Janedoe 用户的 Keycloak Realm。
接下来,我们将配置 Spring 使用 Keycloak 作为身份提供者(Identity Provider)。
2.3、将两者结合起来
首先,使用 spring-boot-starter-oauth2-resource-server 把身份认证控制委托给 Keycloak 服务器。它将允许我们通过 Keycloak 服务器验证 JWT Token。
在 pom.xml 添加依赖:
<dependency>
    <groupId>org.springframework.boot</groupId>
    <artifactId>spring-boot-starter-oauth2-resource-server</artifactId>
</dependency>
配置 Spring Security,添加 OAuth 2 资源服务器(resource server)支持:
@Configuration
@ConditionalOnProperty(name = "keycloak.enabled", havingValue = "true", matchIfMissing = true)
public class WebSecurityConfiguration {

    @Bean
    protected SessionAuthenticationStrategy sessionAuthenticationStrategy() {
        return new NullAuthenticatedSessionStrategy();
    }

    @Bean
    public SecurityFilterChain filterChain(HttpSecurity http) throws Exception {

        return http.csrf()
            .disable()
            .cors()
            .and()
            .authorizeHttpRequests(auth -> auth.anyRequest()
                .authenticated())
            .oauth2ResourceServer(OAuth2ResourceServerConfigurer::jwt)
            .build();
    }
}
设置一个新的 filter chain(过滤器链),应用于所有传入请求。它根据 Keycloak 服务器验证绑定的 JWT Token。
由于我们要构建的是一个只接受身份认证的无状态应用,因此使用 NullAuthenticatedSessionStrategy 作为 Session Strategy(会话策略)。此外,@ConditionalOnProperty 允许通过将 keycloak.enabled 属性设置为 false 来禁用 Keycloak 配置。
最后,在 application.properties 文件中添加连接到 Keycloak 所需的配置:
keycloak.enabled=true
spring.security.oauth2.resourceserver.jwt.issuer-uri=http://localhost:8180/auth/realms/baeldung-api
现在,我们的应用是受保护的,每次请求都会查询 Keycloak 以验证身份验证。
3、设置 Keycloak 的 Testcontainers
3.1、导出 Realm 配置
Keycloak 容器启动时没有任何配置。因此,我们需要在容器启动时以 JSON 文件的形式导入配置。
先从当前运行的实例中导出该文件:

遗憾的是,Keycloak 无法通过管理界面导出用户,我们可以登录容器并使用 kc.sh 导出命令。对于我们的示例来说,手动编辑导出的 realm-export.json 文件,将 janedoe 添加到其中更简单一些。
在最后一个大括号之前添如下配置。
"users": [
  {
    "username": "janedoe",
    "email": "jane.doe@baeldung.com",
    "firstName": "Jane",
    "lastName": "Doe",
    "enabled": true,
    "credentials": [
      {
        "type": "password",
        "value": "s3cr3t"
      }
    ],
    "clientRoles": {
      "account": [
        "view-profile",
        "manage-account"
      ]
    }
  }
]
把 realm-export.json 文件放到项目的 src/test/resources/keycloak 文件夹中。在启动 Keycloak 容器时会使用它。
3.2、设置 Testcontainers
添加 testcontainers、testcontainers-keycloak 依赖,以启动 Keycloak 容器:
<dependency>
    <groupId>com.github.dasniko</groupId>
    <artifactId>testcontainers-keycloak</artifactId>
    <version>2.1.2</version>
    <scope>test</scope>
</dependency>
<dependency>
    <groupId>org.testcontainers</groupId>
    <artifactId>testcontainers</artifactId>
    <version>1.16.3</version>
</dependency>
接下来,创建一个类,我们的所有测试都将源于这个类。用它来配置由 Testcontainers 启动的 Keycloak 容器:
@SpringBootTest(webEnvironment = WebEnvironment.RANDOM_PORT)
public abstract class KeycloakTestContainers {

    static {
        keycloak = new KeycloakContainer().withRealmImportFile("keycloak/realm-export.json");
        keycloak.start();
    }
}
通过静态声明和启动容器,可以确保它将在所有测试中只实例化和启动一次。使用 KeycloakContainer 对象的 withRealmImportFile 方法来指定在启动时要导入的 Realm 配置。
3.3、Spring Boot 测试配置
Keycloak 容器使用随机端口。因此,一旦启动,需要覆盖 application.properties 中定义的 spring.security.oauth2.resourceserver.jwt.issuer-uri 配置。
可以使用 @DynamicPropertySource 注解来实现:
@DynamicPropertySource
static void registerResourceServerIssuerProperty(DynamicPropertyRegistry registry) {
    registry.add("spring.security.oauth2.resourceserver.jwt.issuer-uri", () -> keycloak.getAuthServerUrl() + "/realms/baeldung");
}
4、创建集成测试
现在,我们有了负责启动 Keycloak 容器和配置 Spring 属性的 main 测试类。接下来,创建一个调用 User Controller 的集成测试。
4.1、获取 Access Token
首先,在抽象类 IntegrationTest 中添加一个方法,用于用 Janedoe 的凭证来请求 Token:
URI authorizationURI = new URIBuilder(keycloak.getAuthServerUrl() + "/realms/baeldung/protocol/openid-connect/token").build();
WebClient webclient = WebClient.builder().build();
MultiValueMap<String, String> formData = new LinkedMultiValueMap<>();
formData.put("grant_type", Collections.singletonList("password"));
formData.put("client_id", Collections.singletonList("baeldung-api"));
formData.put("username", Collections.singletonList("jane.doe@baeldung.com"));
formData.put("password", Collections.singletonList("s3cr3t"));

String result = webclient.post()
  .uri(authorizationURI)
  .contentType(MediaType.APPLICATION_FORM_URLENCODED)
  .body(BodyInserters.fromFormData(formData))
  .retrieve()
  .bodyToMono(String.class)
  .block();
这里,我们使用 Webflux 的 WebClient POST 一个表单,其中包含获取 Access Token 所需的不同参数。
最后,解析 Keycloak 服务器响应,从中提取 Token。具体来说,我们会生成一个经典的 Authentication 字符串,其中包含 Bearer 关键字,之后是 Token 的内容,可以在 Header 中使用:
JacksonJsonParser jsonParser = new JacksonJsonParser();
return "Bearer " + jsonParser.parseMap(result)
  .get("access_token")
  .toString();
4.2、创建集成测试
针对配置好的 Keycloak 容器快速设置集成测试。使用 RestAssured 和 Hamcrest 进行测试。
添加 rest-assured 依赖:
<dependency>
    <groupId>io.rest-assured</groupId>
    <artifactId>rest-assured</artifactId>
    <scope>test</scope>
</dependency>
现在,可以使用抽象的 IntegrationTest 类创建测试:
@Test
void givenAuthenticatedUser_whenGetMe_shouldReturnMyInfo() {

    given().header("Authorization", getJaneDoeBearer())
      .when()
      .get("/users/me")
      .then()
      .body("username", equalTo("janedoe"))
      .body("lastname", equalTo("Doe"))
      .body("firstname", equalTo("Jane"))
      .body("email", equalTo("jane.doe@baeldung.com"));
}
如上,从 Keycloak 获取的 Access Token 会添加到请求的 Authorization header 中。
5、总结
本文介绍了如何对 Testcontainers 管理的实际 Keycloak 进行集成测试,通过导入 Realm 配置,每次启动测试时都有一个预先配置好的环境。
参考:https://www.baeldung.com/spring-boot-keycloak-integration-testing
